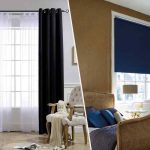
Blackout window curtains are a particular style of window treatment that is designed to entirely or largely block out the light entering the room. It is constructed from thick, light-reflective materials like cotton, linen, or polyester. A lining is also sewn into the fabric to keep light out. These curtains are used in bedrooms, nurseries, and theatre spaces to reduce light.
Blackout curtains provide many advantages, most importantly the fact that they provide privacy protection which most people are concerned about. Over and above, the people who are seeking more comfort in their surroundings for better sleep, blackouts are the ideal option for them. Any room can benefit from adding a unique style of blackout drapes. And since there are many options available for these curtains, you can give any room a stylish and welcoming feel with them.
Step By Step Guidance To Install Blackout Curtains

Blackout curtains are a great addition to any home since they block out all the light and provide privacy. If you are wondering how to DIY install blackout window curtains in your home, this step-by-step guide will help you the most.
Step 1: Gather The Required Tools And Equipment
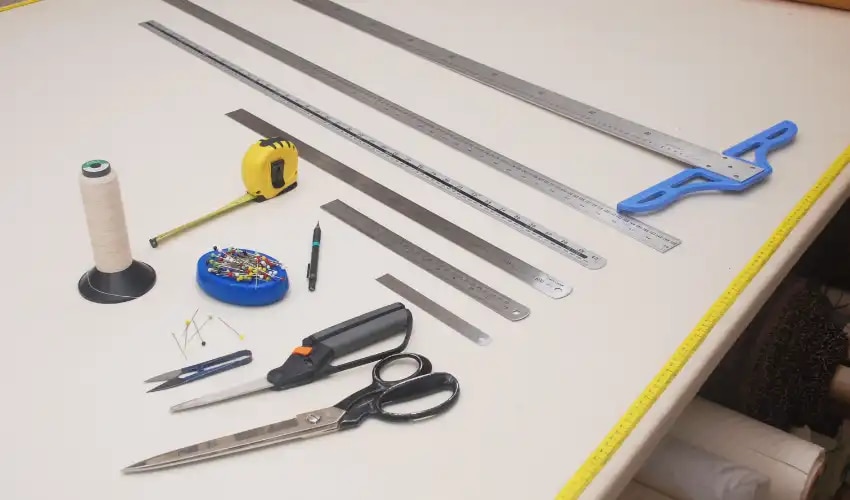
Before you start, ensure that you have the following tools and equipment:
- Measuring Tape
- Pencil
- Screw Driver
- Curtain Rods
- Blackout curtains
- Adhesive Strips
- Drilling Machine And Hammer
Step 2: Measure The Windows
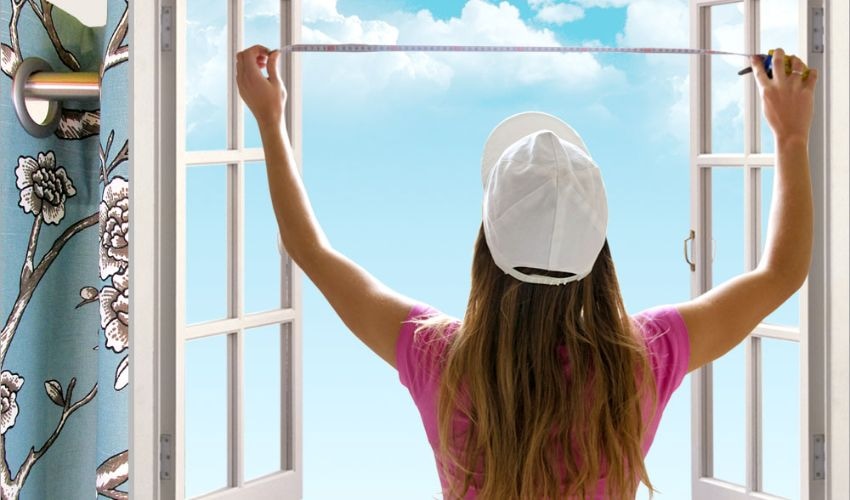
For accurately installing blackout drapes, always measure the windows correctly for a perfect fit. Here are some tips that you should follow when measuring the windows:
-
Use Steel Tape To Measure:
The steel tape is an accurate tool to measure the dimension of your windows correctly. Avoid using plastic or cloth tape as these can shrink over time and give wrong measurements.
-
Measure The Width And Height
For the right curtain size, always remember to measure your window’s width and length. Measure it from the top, bottom, and middle, and always use the largest measurements to make sure that windows are properly covered from every side.
-
Measure For Overlap
If you want your curtains to overlap from the middle, then you should measure the distance from which you want the curtains to overlap.
Step 3: Choose The Right Blackout Curtains
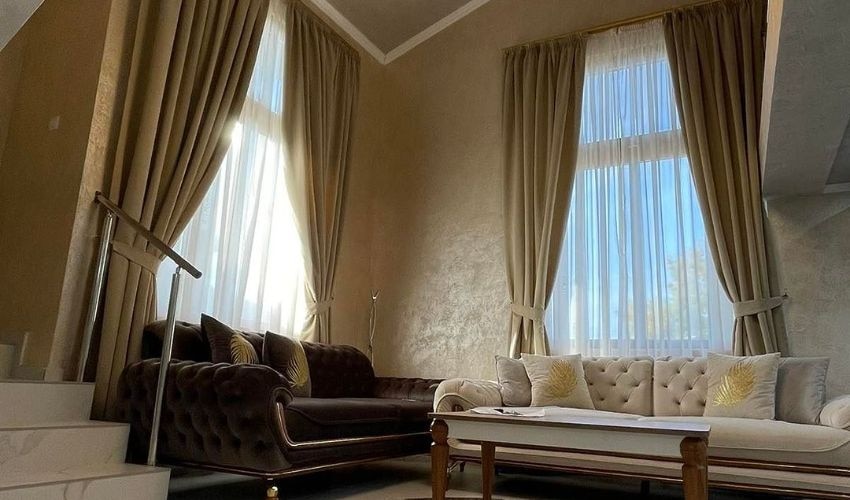
Here is some guidance on choosing the right blackout covers:
-
Consider Curtain Material
Blackout curtains are made from heavy, opaque materials that are best for completely blocking out light. Some common materials for these curtains include polyester, cotton, or velvet.
-
Check For Light Blocking Feature
Not all the blackout curtains completely block out light, some of them allow light to let in through. Consider those curtains which block out 100% of incoming light.
-
Check For Noise Reduction And Thermal Capabilities
High-quality material will always block out noise, and provide thermal insulation, as well. It reduces energy costs by providing warmth and coolness in winter and summer respectively.
Step 4: Choose The Right Curtain Rod
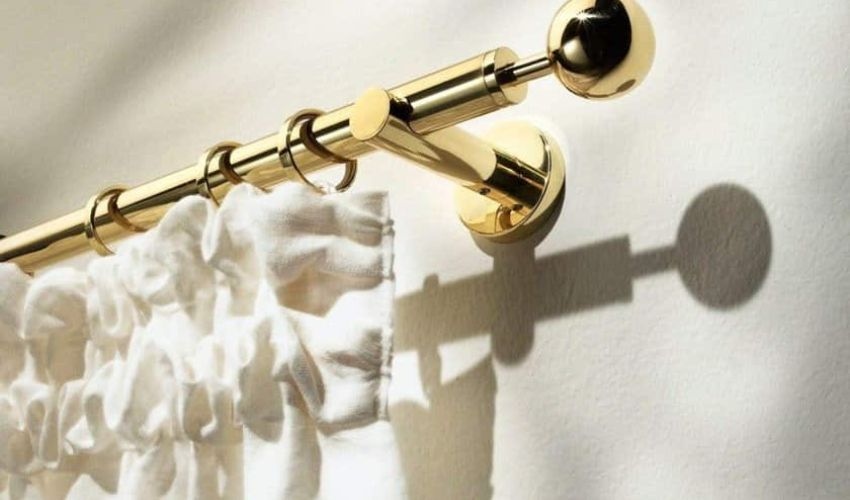
When choosing a curtain rod, there are multiple factors to consider like size and styles that compliment your room’s decor.
-
Consider The Size
The size of the curtain rod is crucial because it needs to be large enough to place your curtains. It must be of high quality so that it can easily bear the weight of your curtains. Choose a curtain that is wide enough to allow overlapping from the middle.
-
Choose A Style That Complements your Room Decor
Blackout curtains are available in a wide range of styles, colors, and patterns. Consider choosing a style that will always complement your existing area decor whether it is classic, modern, or eclectic.
Step 5: Install Blackouts On the Curtains Rod
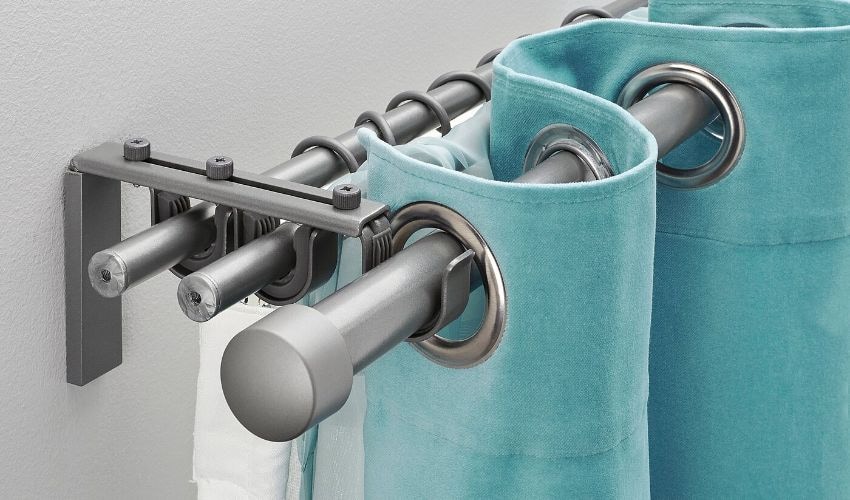
When installing blackout window curtains in your house, here are some tips to keep in mind to make sure that rod is perfectly installed.
-
Drill Once, Measure Twice
Make sure you have precise measurements of the window’s width and the height of the area where the curtain rod will be attached before you start. This will assist you in selecting the curtain rod size and guarantee that it is installed at the right height.
-
Use A Stud Finder
Because of the hollow nature of most residential walls, screws may not keep the drapes secured. Use a stud finder to identify the wooden studs in the wall, then use screws to fasten the curtain rod to them to ensure that it is securely fitted.
-
Use of Mount Brackets
Occasionally, even though the curtains are fastened to wooden studs, the weight of the curtains may be too much for the screws to support. It is recommended to use mounting brackets in these circumstances since they give the curtain rod more strength and support.
-
Use Adhesive Strips
You can attach the curtain rod using adhesive strips if you don’t feel comfortable using a drill or if your houses complex forbids drilling into the walls. However, by doing this, the curtains may not be fixed as securely as they would be with screws, so you should use strong adhesive strips that can handle the weight of the drapes.
Tips And Tricks To Hang Blackout Window Curtains Perfectly
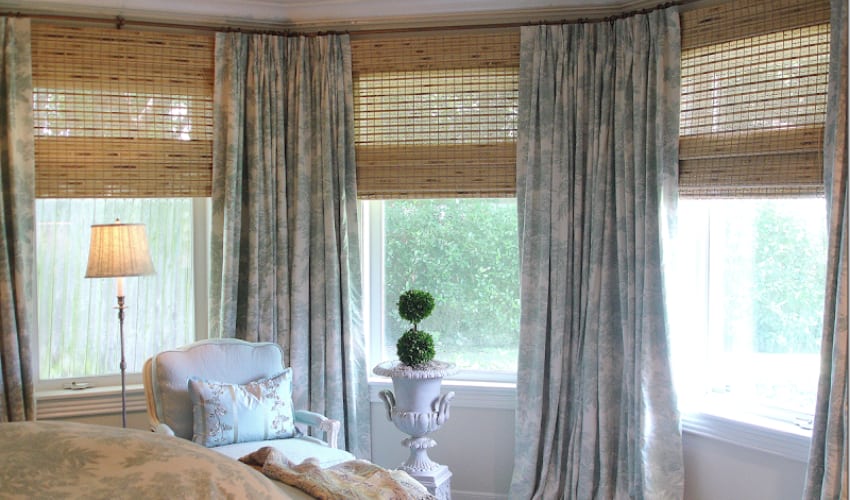
To make sure that your curtains are getting installed correctly, up ahead are some helpful tips and tricks for you to follow:
- Ask a friend to hold the curtain rods in place as you attach them to the wall to make installation simpler.
- Make sure the adhesive strips you used to attach the blackout curtains rods are heavy-duty enough to handle the weight of the curtains if you’re utilizing them.
- Use a level to verify that the curtain rods are properly installed and that the curtains hang straight.
Also Read: Exploring the Different Varieties and Features of Blackout Curtains
Conclusion
Installing blackout curtains is an easy DIY job that will increase your sleep quality, give you privacy, and help you control interior lighting. You can successfully block out light and create a more comfortable atmosphere in your home by following the above-mentioned step-by-step procedure that involves measuring, choosing the right curtains, installing hardware, and hanging them most securely.


