Blackout curtains are the ideal choice for those who get irritated with the sensation of direct sunlight that wakes them up early in the morning and disturbs their peaceful sleep. These curtains are made from thick fabric that can block the light effectively and give you a perfect environment to sleep peacefully.
Hanging blackout window coverings is not difficult, but those with no prior experience may need clarification about the proper steps to take when hanging these curtains on the window. To simplify their job, we have a complete guide about installing room darkening curtains without hassle. Let’s go through them right away.
Gather All Tools And Materials
Following are all the tools and equipment that are required to complete this task effectively:
- Curtains Rod or Poles
- Wall Anchors
- Curtains Brackets
- Pencil & Paper
- Drill Machine
- Hammer
- Measuring Tape
- Screwdriver
Quick & Easy Steps To Hang Your Blackout Curtains
After gathering all the necessary tools and materials, you are ready for the installation job.
1. Take All Measurements
To install blackout curtains in Dubai, you first have to take all the measurements of your windows. With the help of a measuring tape, measure both the height and width of your window. Try to take accurate measurements to ensure the precise positioning of your curtain rods and brackets.
Mark points on the wall with a pencil where you will install the rod for your curtains.
2. Rod & Bracket Placement
Decide on a suitable height for the placement of the rod after taking precise measurements. Consider the ceiling of your room first, and then try to place the rod as high as you can. An extensive rod will ensure that your thick fabric curtains completely block the light.
For accurate bracket placement, use a level to ensure that you mark the spots precisely and install the rod at an appropriate height.
3. Drill A Hole & Install Wall Anchors
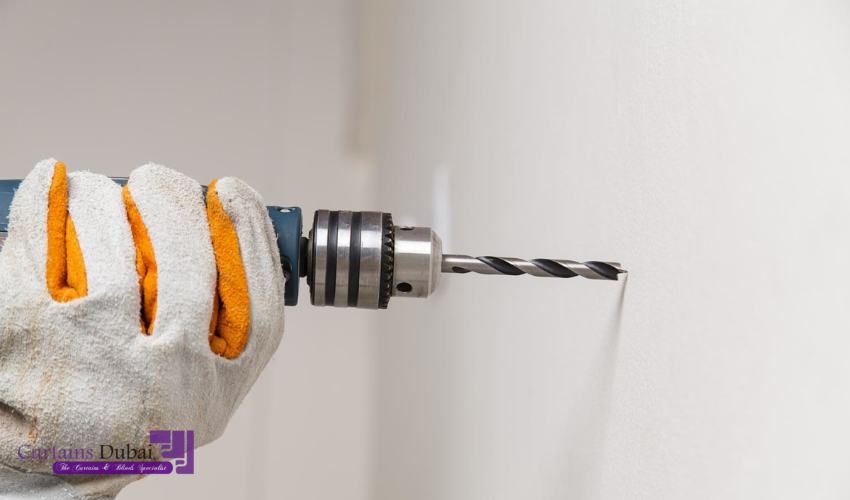
After the rod and bracket placement, the next step is to use a drill machine to make pilot holes in the walls. Use the drill machine with care. If you don’t know how to use the drill machine, consider hiring professionals or opt for no-drill alternatives.
After drilling the hole, install the anchors into the wall using a hammer. You can use a screwdriver to tighten the screws into the wall but don’t exert too much force as it can result in the breaking of anchors. And if there are any studs in the wall, remove them using a stud finder.
Also Visit: Exploring the Different Varieties and Features of Blackout Curtains
4. Attach the Brackets
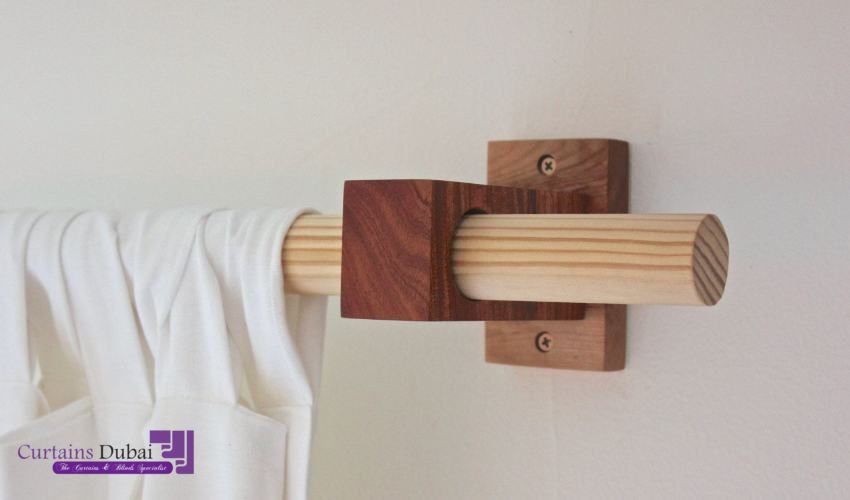
After drilling small holes in the wall, you can attach the brackets where you marked the spots. You can also attach additional screws if needed.
5. Prepare & Hang Your Curtains
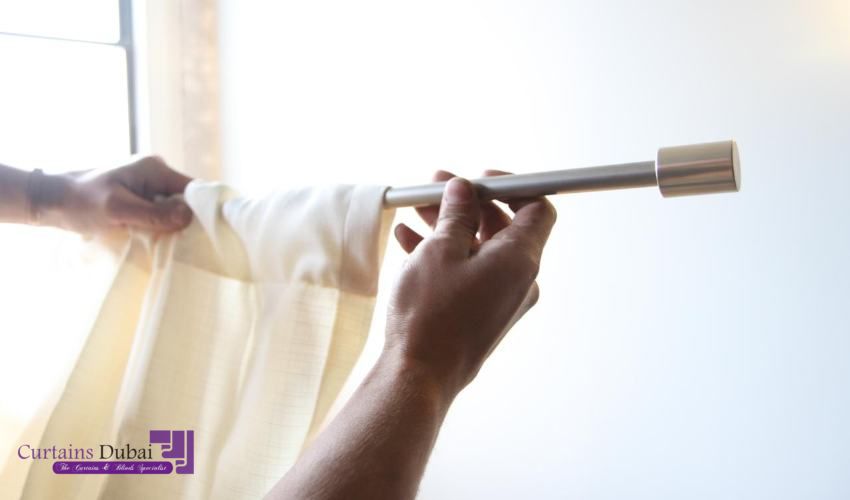
Preparing your curtains is the final step of this easy process. Pass your curtain pockets or grommets through the rod and attach it to the brackets. You can use a step ladder or a mounted stool to hang your curtain rod onto the brackets. Adjust the curtains to ensure proper coverage. You can also style your best blackout drapes with sheers for dual functionality and enhanced comfort.
In The End!
Blackout curtains are preferred by most homeowners nowadays because they offer many benefits and features. Installing these curtains requires proper guidance, so we’ve got you this guide.
The easy steps to hanging room darkening curtains involve gathering the required tools, taking measurements, and placing rods and brackets. After this, you will need to drill holes and install wall anchors. Lastly, you can use a ladder to install the curtains. Don’t forget to appreciate yourself for completing the project successfully.


